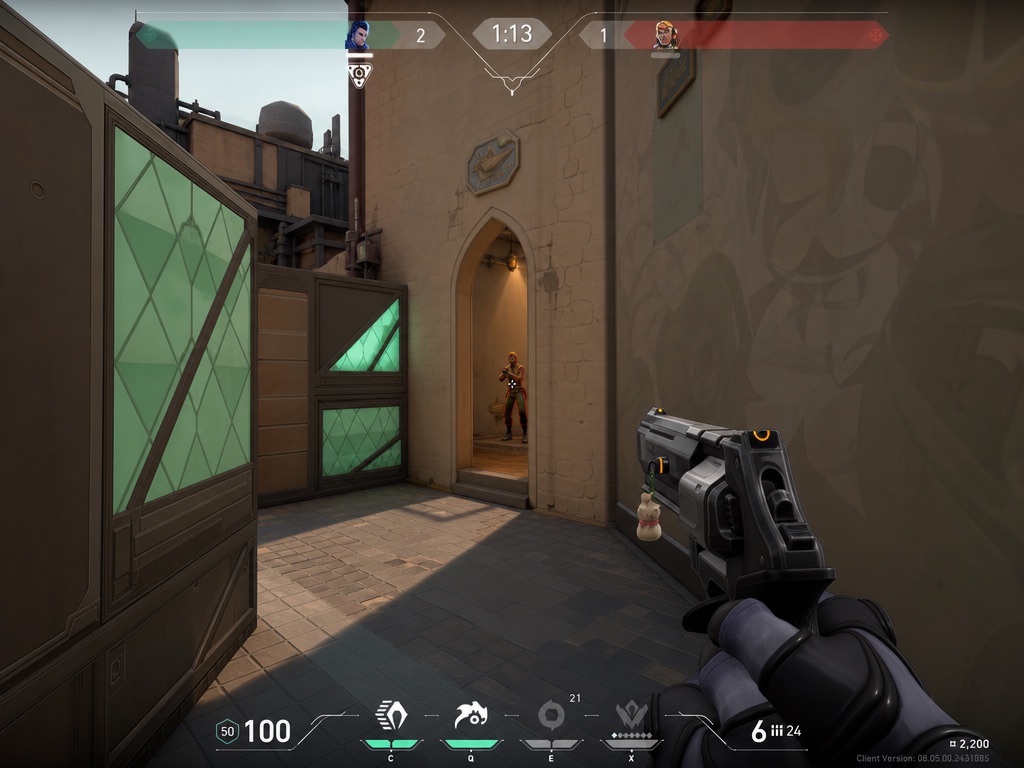
1. Start with contrast, not a favorite color
White is familiar but can disappear on bright walls. Green and cyan often remain readable across a wider range of scenes. Yellow, pink, and red can work when they stay distinct from ability effects, team colors, and environment lighting.
There is no universal best color. The goal is to notice the center without consciously searching for it.
Preview the same crosshair on one bright scene and one dark scene. If it vanishes on either, try a stronger color or a subtle outline.
2. Set line length, thickness, and gap together
Line length
Short lines reduce obstruction and make the center feel precise. Longer lines are easier to reacquire during fast movement. Start short, then add length only when you lose the crosshair.
Thickness
Thin lines feel clean at high contrast. Extra thickness helps on smaller screens or visually busy scenes, but heavy lines can cover part of the target.
Center gap
A small gap gives the target a clear space in the middle. A large gap may feel open but makes precise placement harder to judge. Change gap after line length because the two settings alter the same visual footprint.
| Goal | Good starting direction |
|---|---|
| Less visual obstruction | Shorter, thinner inner lines with a small gap |
| Easier reacquisition | Slightly longer lines with high contrast |
| Precise single taps | Compact cross or center dot |
| Learning recoil feedback | Stable center with optional firing error |
3. Decide whether the center dot and outline help
A center dot creates an exact reference but can become too large when paired with thick inner lines. If you use a dot, keep the surrounding cross compact. An outline is useful when the main color blends into part of the scene, but high outline opacity can make a small crosshair look heavy.
4. Use movement and firing error intentionally
Dynamic error behavior can teach when accuracy changes, which is useful for newer players. Static crosshairs are visually calmer and easier to read for players who already understand movement and firing timing. Neither mode is automatically better.
5. Test one change at a time
- Choose a color that survives bright and dark backgrounds.
- Set the inner line length and thickness.
- Reduce the center gap until placement feels clear.
- Add a dot or outline only when it solves a visible problem.
- Save the baseline before making an experimental version.
A short test is more useful than endless editing. Use the same training scenario, compare two versions, and keep the one you stop noticing.
Use the generator on iPhone
Crosshair X Pro includes live scene preview, color controls, inner and outer lines, center dot, outlines, opacity, and error behavior.
Open the iOS app ↗